Fusion Splicing Process Overview
The fusion splicing process for fiber optics follows a similar procedure across all automatic splicing machines. This technique involves using localized heat to melt the ends of two optical fibers and fuse them together. The first step in this process is to properly prepare the ends of the fibers for fusion.
Environment for Splicing
The splicing process must be conducted in a clean environment to avoid any dust or contamination that could interfere with the splice. The recommended temperature range for performing fusion splicing is between 15ºC and 28ºC.
Note: While fusion splicing machines can operate in temperatures between -10ºC and +5ºC, and closure installations are possible between -1ºC and +45ºC, it is essential for technicians to work in optimal conditions to ensure the highest level of efficiency and success in the splicing process.
1. Insert One Side of Fiber into the Splice Protective Sleeve
Before completing the fusion splicing process, it’s important not to forget to insert the heat shrink protection sleeve onto one side of the fibers. The sleeve is a solid tube that can be placed onto the fiber end, but it cannot be wrapped around it after splicing. Also, the splicing area must be clean, and the fusion device should be placed on a stable surface for best results.
2. Accurately Strip the Fiber’s Buffer Coatings
To fuse two fiber ends, the fibers need to be stripped down to the cladding layer. Only the core and cladding can be fused, so all buffer and coating layers must be removed. Specialized stripping tools for optical fibers are equipped with dedicated stripping holes for various buffer layers. The more a technician practices fiber stripping, the more efficiently they can remove each layer in a single motion. Fusion devices often provide guidance on the stripping length for each layer and come with fiber holders that make handling easier, especially for ribbon cables with multiple fibers.
3. Clean the Fibers of Coating Residue
The stripping tool might leave some particles from the removed buffer and coating layers. These residues can be cleaned off with isopropyl alcohol and fiber-specific cleaning wipes. It’s important to avoid using regular wipes that might scratch the fiber, and there’s no need to clean the fiber ends excessively since they will be cleaved in the next step.
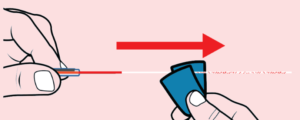
4. Cleave the Fiber Ends at a 90° Angle
Fusion splicing devices often include a compatible fiber cleaver, a tool designed to trim fiber strands precisely at a 90° angle. Cutting optical fiber with regular scissors or cutters can deform the end, leading to signal loss after splicing. Special cleavers for ribbon fiber cables can cleave multiple fibers (up to 12 or more) simultaneously.
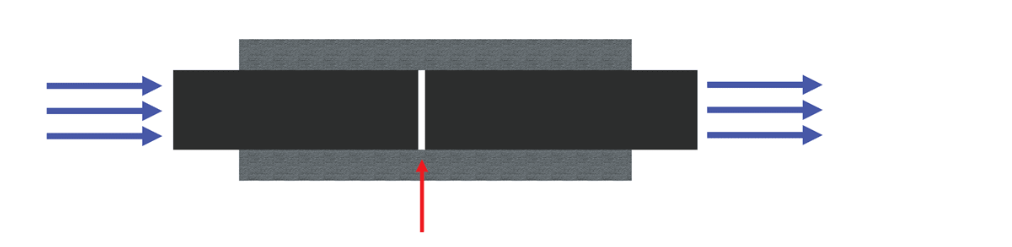
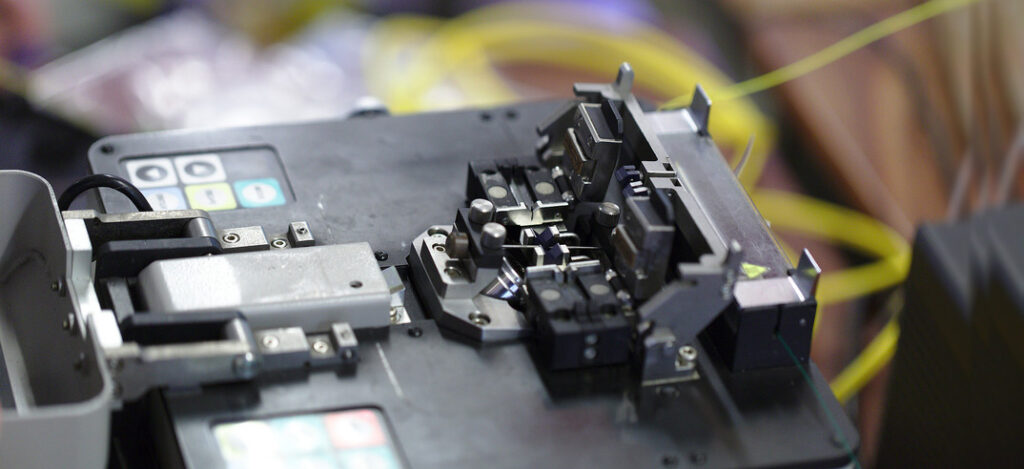
5. Secure the Fibers in the Fusion Splicing Device
Once the fibers are stripped and cleaved, place the ends into the designated slots on the fusion splicing device. Ensure the gap between the fibers is minimal and centered between the heating electrodes. Fusion devices typically have detachable holders or fixed clamps to secure the fibers in place, making it easy to repeat the process. Ribbon fusion devices feature tiny guides to maintain alignment and equal spacing between the fibers.
6. Begin the Fusion Splicing Process
Before starting the fusion process, ensure the device settings are correctly adjusted for the type of fiber (single-mode or multi-mode) and the number of fibers to be spliced. Proper settings ensure the device applies the correct amount of heat and pressure for a perfect splice with minimal signal loss. Modern fusion splicing devices perform the final alignment, heating, and fusion automatically, and some even include a magnifying camera to display the process on screen. The final estimated fiber loss should be as close to 00.00 dB as possible for optimal results. Once the process is complete, the two fiber ends are fused into one continuous strand, though they must be handled carefully during the final protection step.
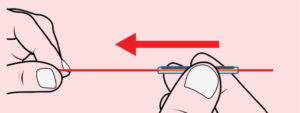
7. Apply the Heat Shrink Protective Sleeve
After the splicing is completed, slide the heat shrink protective sleeve over the spliced fiber. It’s essential to hold the fiber from the side where the sleeve is located and gently push the sleeve towards the middle. Avoid pulling the sleeve from the far side, as it could put pressure on the splice point and damage it. Once the sleeve is in place, position the fibers in the heat-shrinking slot, activate the heating process, and wait for the device’s signal that the heating is complete. The sleeve will then tightly seal around the spliced fiber, finalizing the process.